
Already completed our Quickstart?
If you've already completed our Quickstart , it's safer to create a fresh namespace for this exercise so you don't collide with earlier experiments. Keep following from Create a namespace (you can skip CLI install and login if wgc auth whoami already works).
Getting Started
You need:
- a free Cosmo account at cosmo.wundergraph.com/login
- Node.js LTS (or higher), npm, and Docker installed locally
- curl to download schema files
Feature flags (in the next lessons) also require these minimum versions:
| Package | Minimum version |
|---|---|
| wgc | 0.58.0 |
| router | 0.95.0 |
Create a free Cosmo account
Open cosmo.wundergraph.com/signup and create an account. Email verification may be required.
Skip the onboarding wizard for now
We'll be taking a slightly different path than the standard onboarding demo.
Prepare your organization
After signing up, a personal organization is created for you automatically. You can use that for this course. Once you are comfortable, we recommend creating a separate organization: open the organization dropdown, select Create a new organization, and choose a name and slug.
Install the CLI and log in
Install the CLI to interact with the control plane and manage resources like graphs and API keys:
Log in:
This opens your browser so you can sign into Cosmo. Afterward, the terminal asks you to pick an organization.
Verify the session:
Create a namespace
If you’ve worked with Kubernetes, AWS, or other platforms, you’ve probably seen the term "namespace." In Cosmo, a namespace is simply a logical grouping for your graphs, subgraphs, and feature flags.
A logical grouping for your graphs, subgraphs, and feature flags. Namespaces allow you to group and/or isolate different instances of the same supergraph and create distinct environments such as dev, staging, and prod.
For this course, let's make a new namespace specifically to isolate our exercise, which you can cleanly remove after we're done. Create feature-flags-demo namespace with this command:
Create a supergraph
A supergraph (or "federated graph") represents your unified, federated GraphQL schema. Each supergraph is assigned a URL and can be mapped to a single router instance.
The URL doesn’t need to be valid for the demo, but in a production environment, you would specify the URL of your deployed router.
Run the following command to create a supergraph:
Create and publish the subgraphs
A supergraph requires subgraphs to function. Without subgraphs, it cannot serve a valid GraphQL schema.
Download our demo subgraphs in the order below to ensure proper configuration:
1. Products
Create an empty subgraph named products:
Download the schema and publish it:
2. Employees
Expected composition errors
Publishing employees alone will report composition errors. That is expected. The router never deploys an invalid composition—it keeps the last valid one. Errors clear as you publish the remaining subgraphs.
3. Mood
After mood is published, several composition errors should be resolved.
4. Availability
After this publish there should be no composition errors. You'll confirm in the next step.
View your supergraph in Cosmo Cloud
Open the Cosmo Cloud Graphs Page , and you should see your composed graph running successfully:
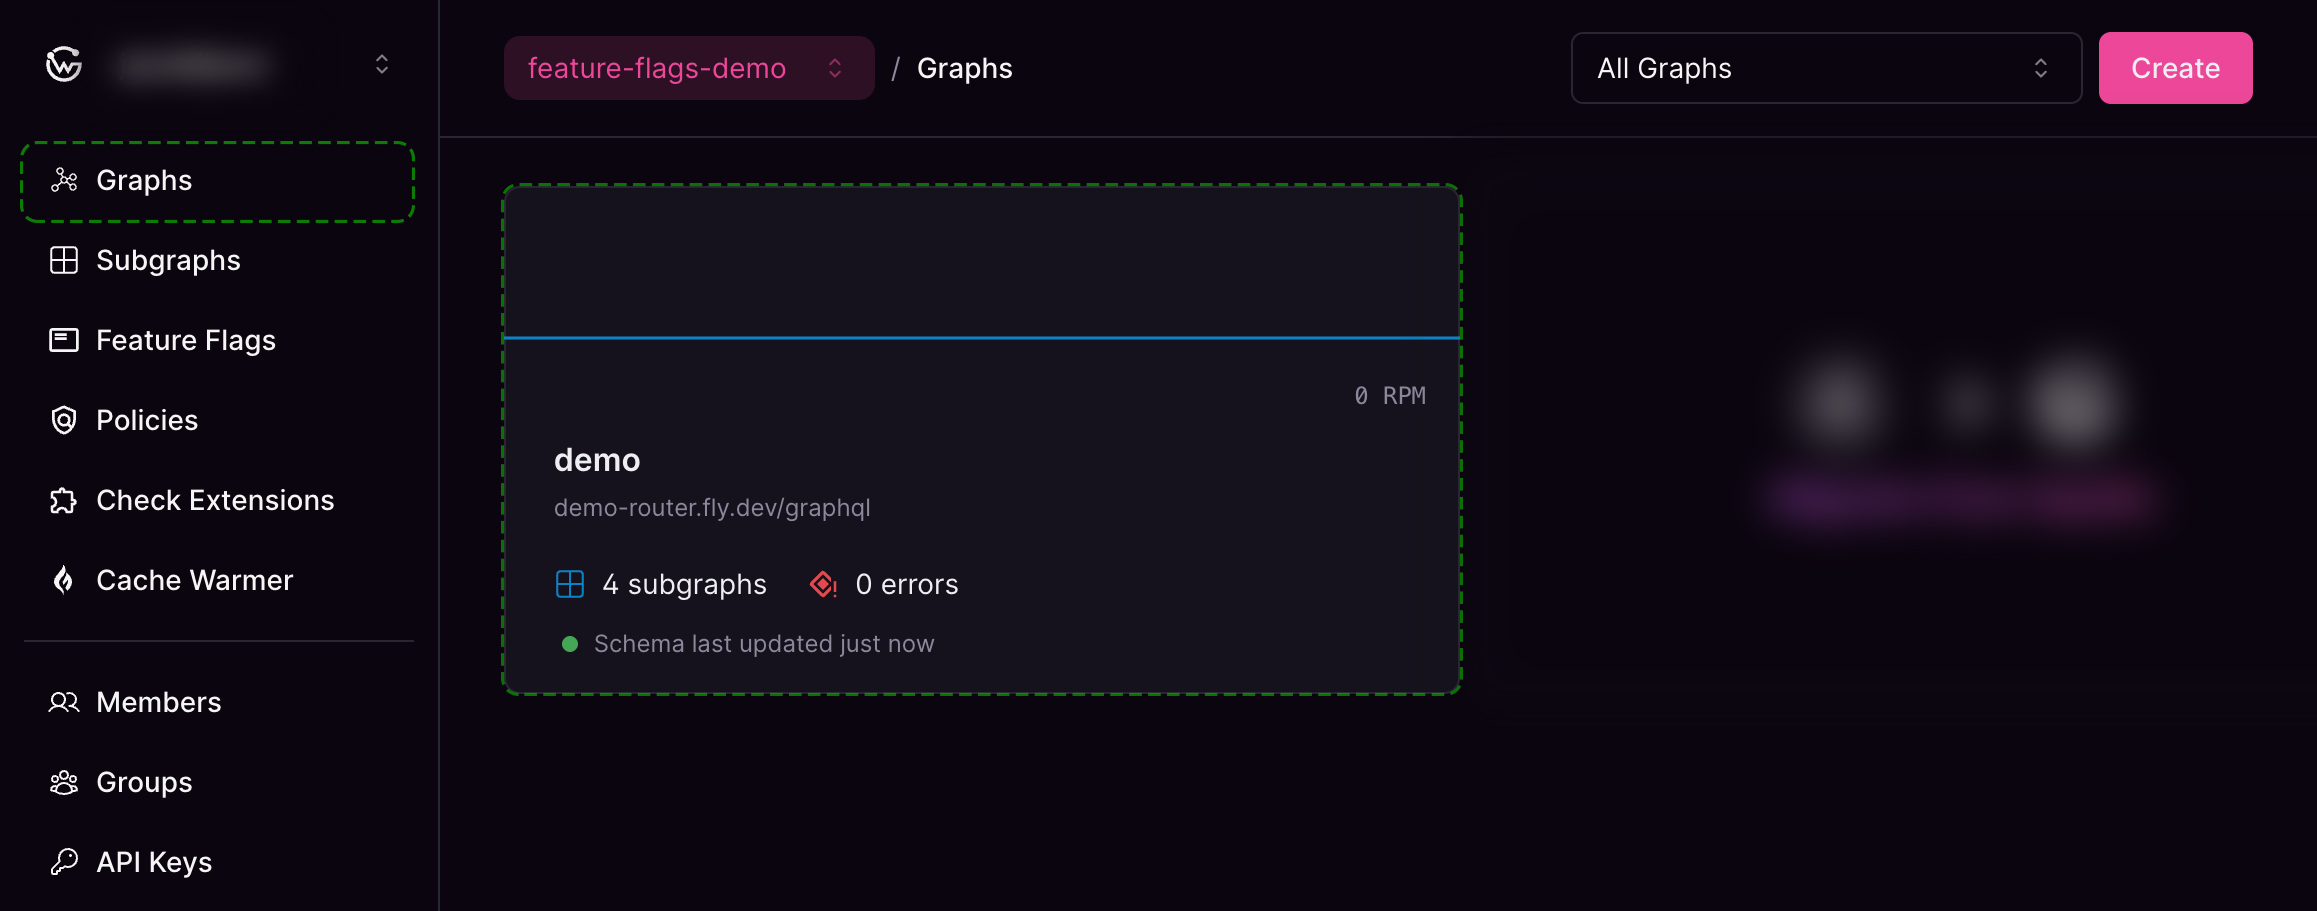
Watch out: Namespace menu
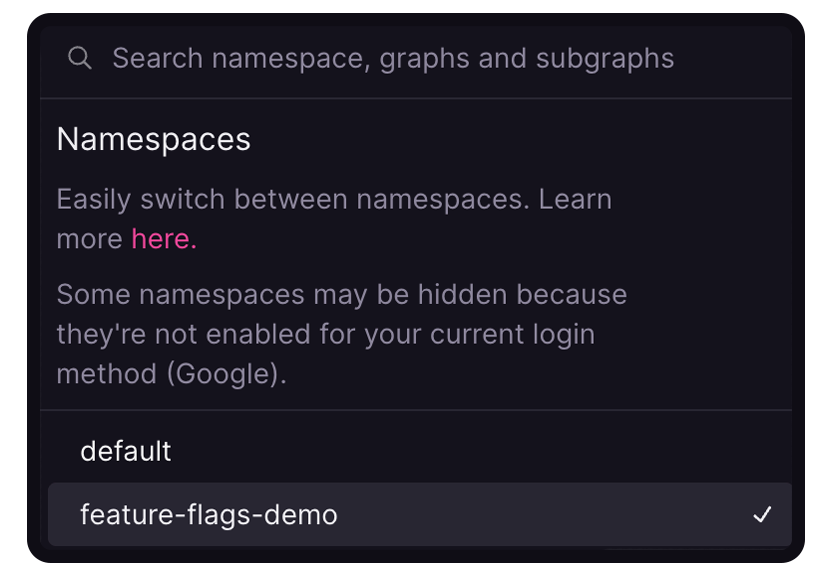
If you're not seeing your new graph, make sure you're in the right namespace by opening the namespace dropdown:
Click on your graph to open it, bringing you to the Overview page:
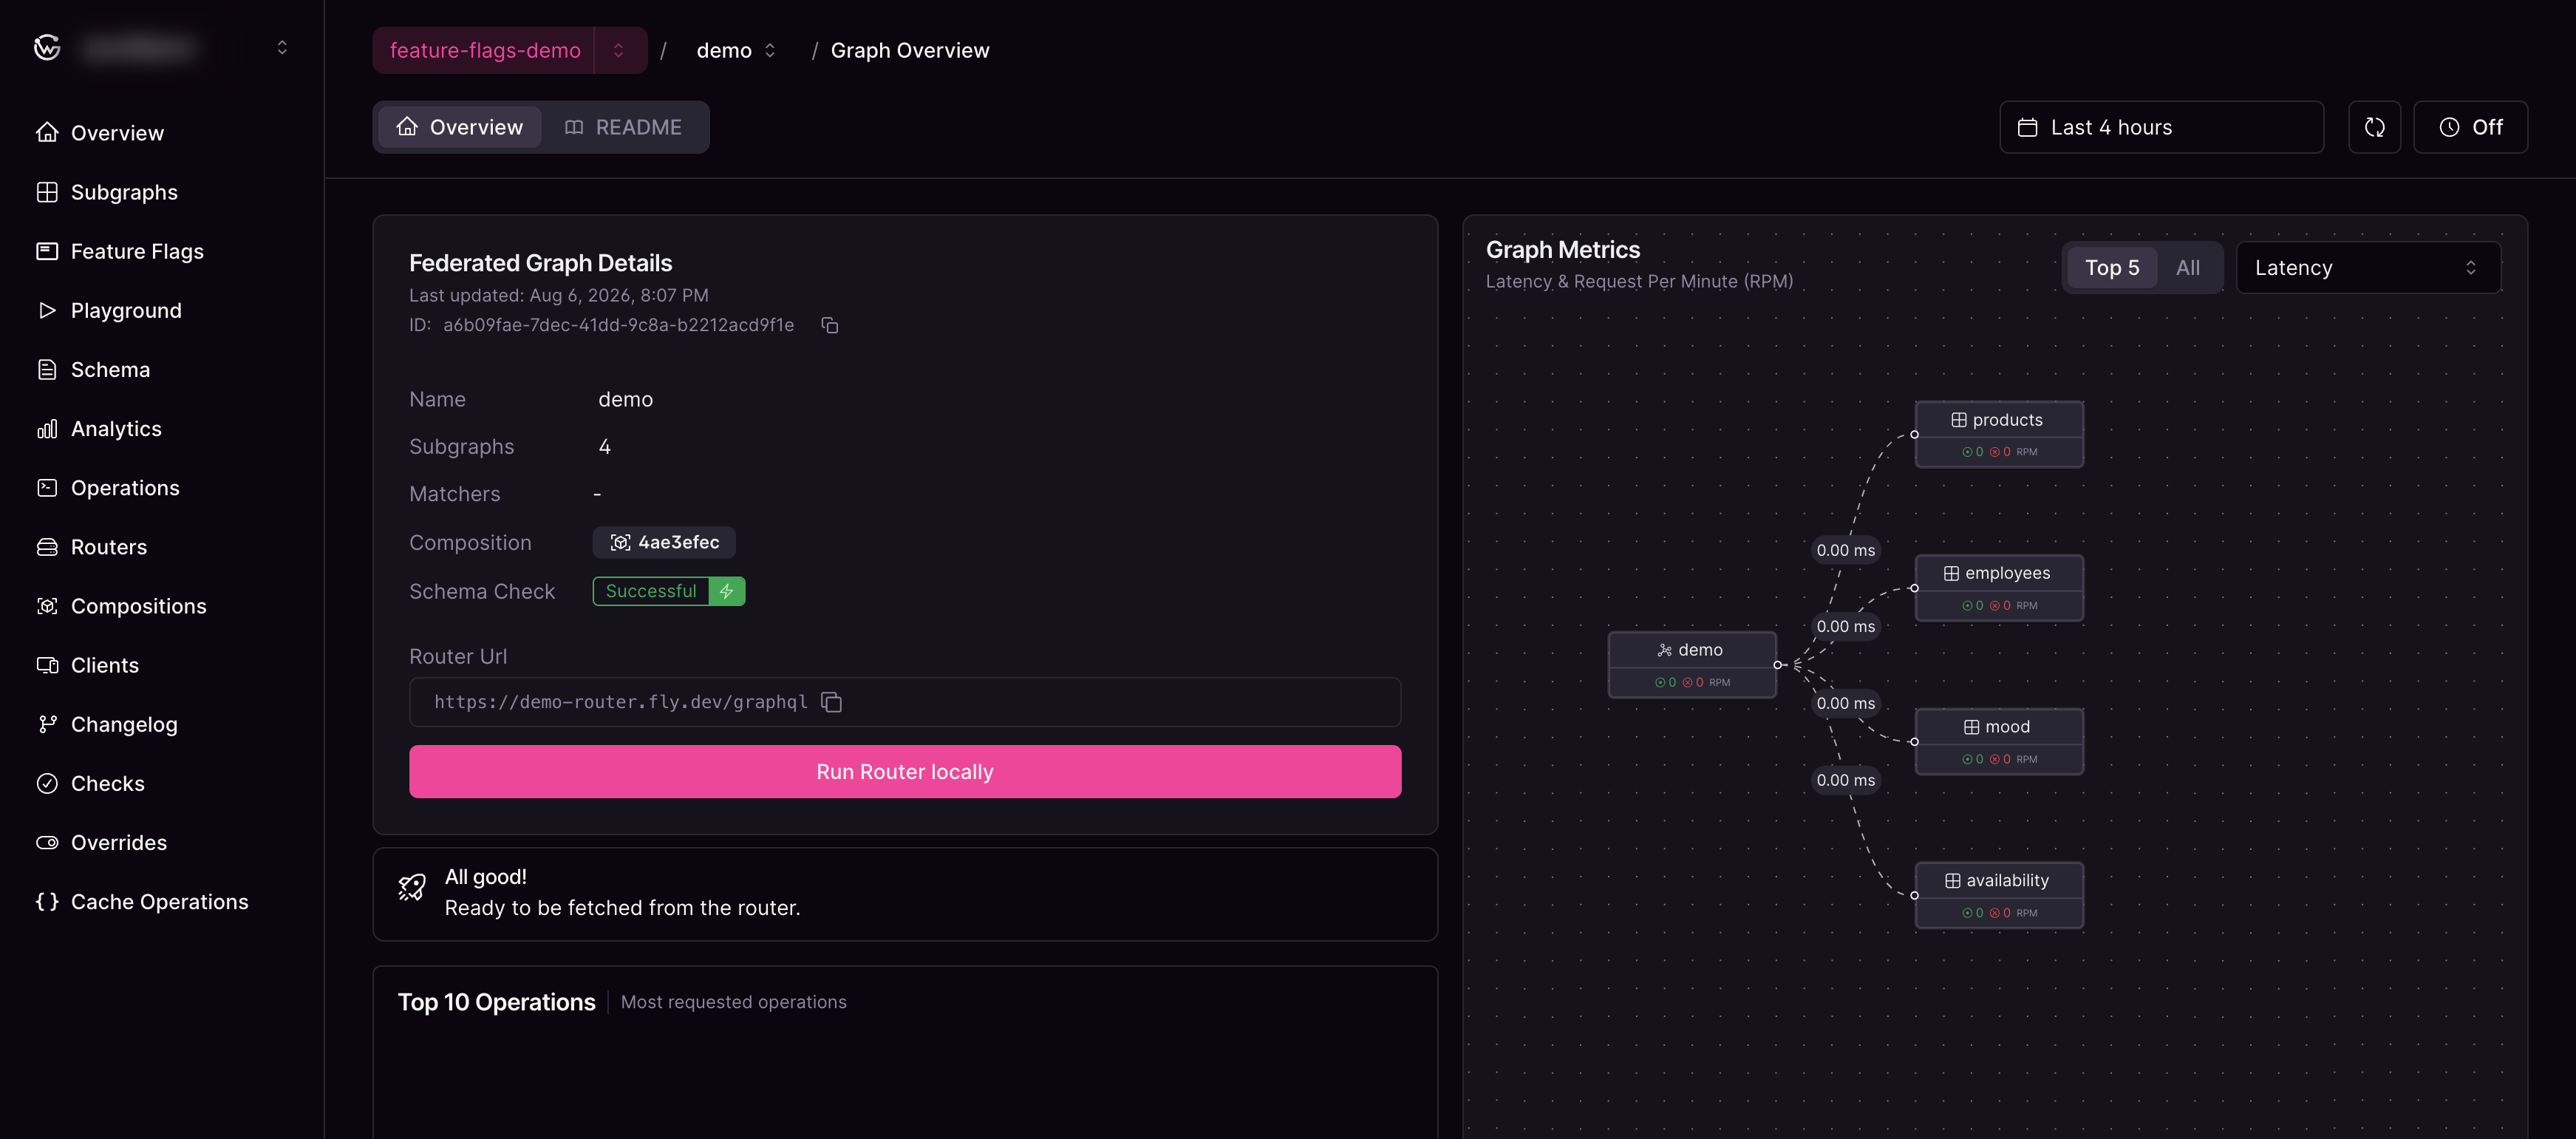
Finally, verify that your supergraph composed successfully by checking the Schema Check field:

Now you're ready to move on to spinning up a local instance of the router.
Create a router token
After publishing all subgraphs, you need to generate a Router Token. This token allows the router to communicate with the control plane and fetch the latest valid graph composition.
Run the following command to create a router token:
Replace myName with a meaningful token name. The command prints a token once—copy and store it securely. You will paste it into the next command.
Run the router locally
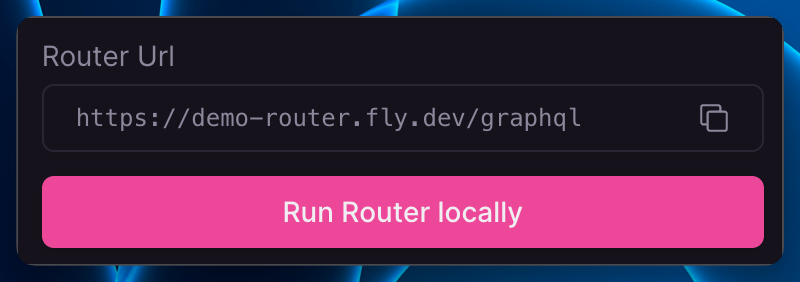
On the Overview page for your supergraph in Cosmo Cloud, click Run Router Locally to copy a ready-made command, or run:
Replace <graph-api-token> with the token from the previous step.
Open the playground and run a query
Open http://localhost:3002 and run a GraphQL operation. The same playground is also available in Cosmo Cloud when using a deployed router.
Start with the query below. It resolves products from the products subgraph (the one you will feature-flag next). If you get product lists back, that subgraph is wired correctly:
Your list may include additional employees; the important check is that each result has an id and a products array.
Request Tracing toggle
To keep your responses clean, consider removing "X-WG-TRACE" : "true" from Headers for now.
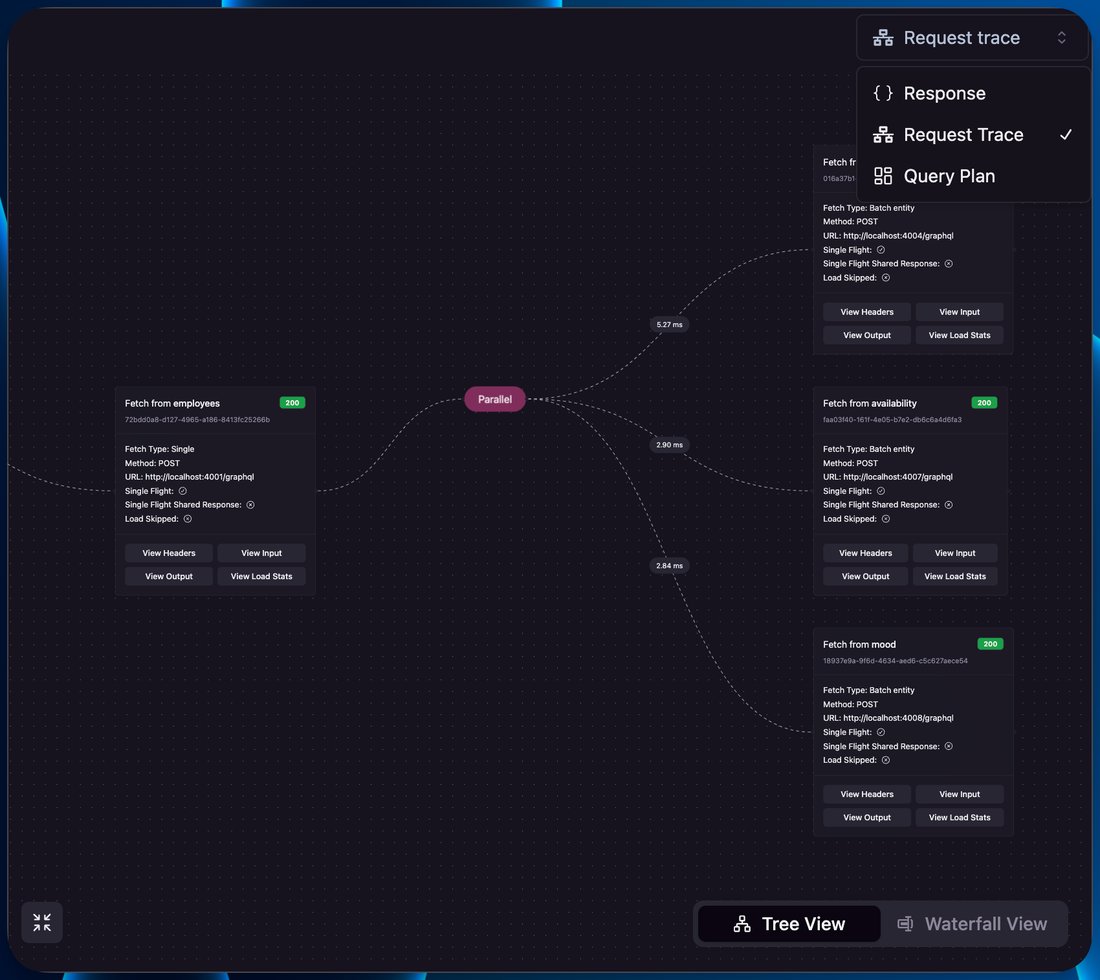
X-WG-TRACE enables Advanced Request Tracing (ART) — it activates visual representations of the query execution plan, including timings, inputs, and outputs for each subgraph. In the playground, this is shown in tree view or waterfall view. The following Bonus section requires it, but it's purely for visual demonstration.
For more detail, see Advanced Request Tracing (ART) and Query Plans .
Bonus: Visualize the entire graph
Run the following query that involves all 4 subgraphs:
After running the example query, use the dropdown on the right in the playground to see how the router distributed the request across subgraphs. As mentioned, see Advanced Request Tracing (ART) and Query Plans for more detail.
Leave the router running. Next you will register a products-fs feature subgraph against products, publish its schema (which adds Employee.productCount), and compose it into a feature flag.
Task
Confirm your setup